Pão de queijo
Contains allergens
Incomplete allergen information: some ingredients have not been reviewed yet. Always check the labels before cooking.
- Author
- Equipo Cocinoa
- Preparation time
- 60 min
- Servings
- 6
Summary
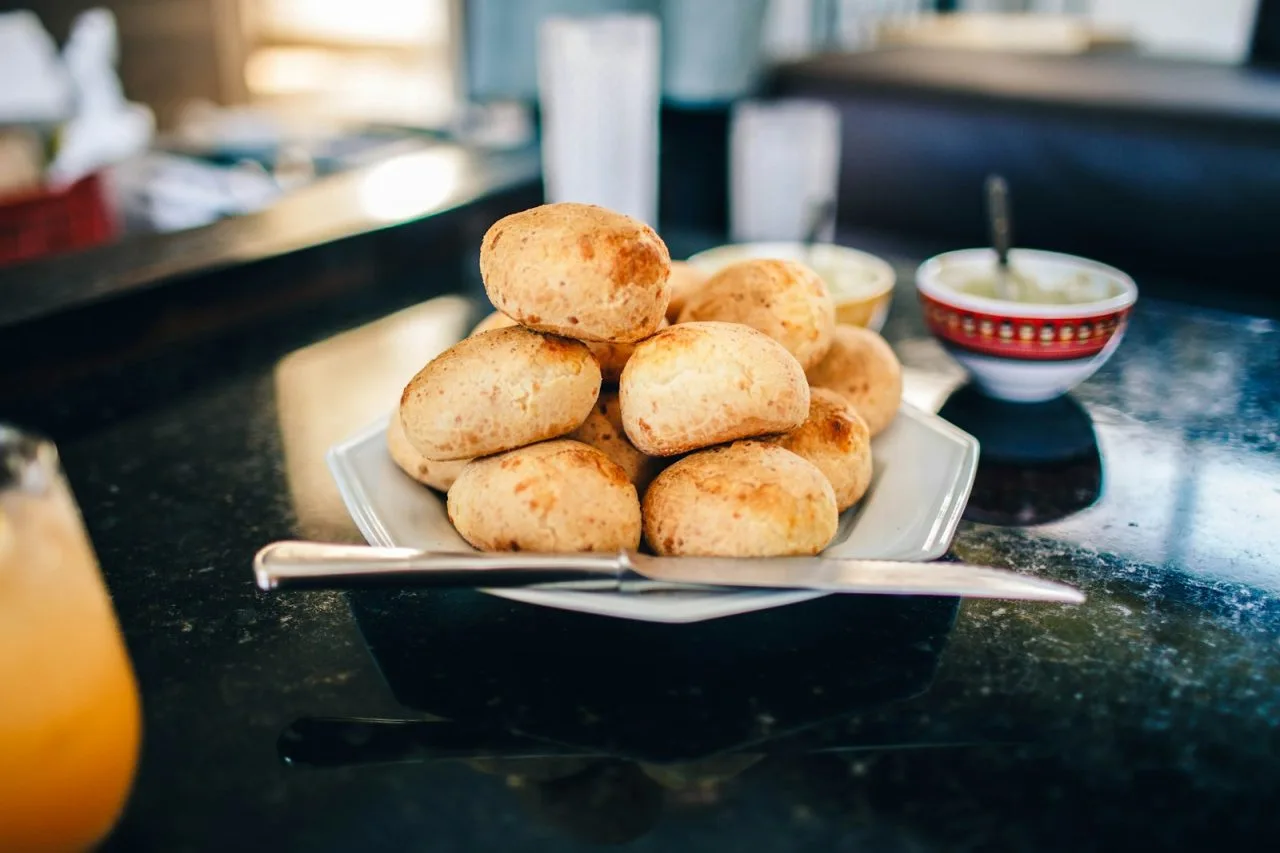
Brazilian cheese bread from Minas Gerais: crisp outside and chewy inside thanks to tapioca starch. Gluten-free, yeast-free and made with just six ingredients.
Ingredients
- 250 ml Milk
- 100 g Cheese (semi-cured, grated)
- 2 u Egg
- 1 teaspoon Salt
- 125 ml Sunflower Oil
- 500 g Tapioca (starch (polvilho), sweet or sour)
- 150 g Parmesan (grated)
- 125 ml Water
Instructions
Put the starch in a large bowl. Heat the milk with the water, oil and salt until it starts to boil.
5 min
Pour the boiling liquid over the starch and mix vigorously with a wooden spoon: you will get a lumpy, sticky dough. Leave it to cool slightly.
10 min
Add the eggs one at a time, kneading until each is absorbed, then add the cheeses. Knead until the dough is smooth and elastic and comes away slightly from your hands.
5 min
Preheat the oven to 190 °C. With oiled hands, roll walnut-sized balls and place them on a tray lined with baking paper, spaced apart.
15 min
Bake until puffed and golden. Serve hot, fresh from the oven.
25 min
Notes
In Brazil they use polvilho, which can be sweet or sour; sour polvilho gives more rise and a slightly tangy flavour. Outside Brazil, tapioca starch from Asian or Latin American shops works very well. Freeze the raw balls on a tray and bake them straight from frozen, adding 5 minutes to the baking time.
More information
StorageKeeps 2 days in the fridge
I made this
Have you made it? Tell us how it went.
Community versions
Would you change something? Publish your version: it will link back to this recipe.
Comments
Log in to leave a comment.
No comments yet
Be the first to comment on this recipe.